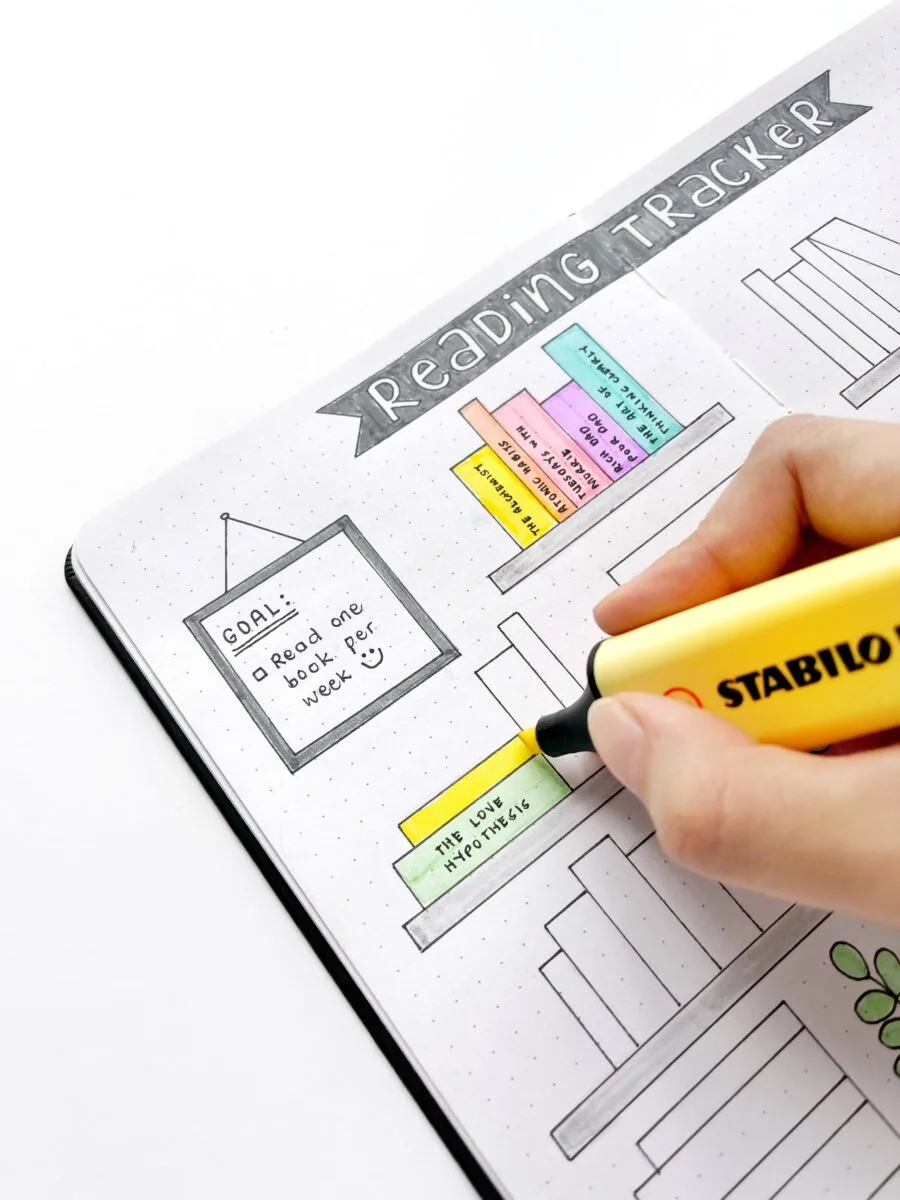
A few years ago, when I first decided to start a bullet journal, I remember having many different feelings about starting my first bullet journal. I felt overwhelmed hearing bloggers talk about how they set up their Moleskines or Leuchtturm 1917 notebooks as multi-duty organizational tools. Even the bujo lingo confused me, as I didn’t know which purposes they served.
Fast forward to 2022, I had it all figured out, plus more. I’ve also added mindfulness tools into my bullet journal, which made it even more indispensable in my everyday life. So you see, there’s nothing to feel intimidated about getting started with bullet journaling. I’ll show you how to dive into this practice.
In today’s article, I’m going to discuss:
- What bullet journaling is all about
- Some bullet journaling terms you need to know
- Steps on how to start a bullet journal

What is Bullet Journaling?
In a nutshell, bullet journaling is a personal organization system that takes the form of a diary, a planner, and an analog brain dump. It combines the productivity component of a to-do list, a planner’s scheduling feature, and a diary’s random mindfulness approach.
However, the keyword here is “bullet.” Instead of writing in long form, you’ll only need to take a shortcut to your usual note-taking. Bullet journaling, after all, is a type of documentation designed for a quick jot-down of important details and dates.
A bullet journal can be anything besides being a compact organizer consisting of to-dos and events. You have the liberty of adding journal spreads that you believe will positively influence your mindset and improve your well-being.
Bullet Journal Terminologies
Now that we’ve uncovered the magic behind bullet journaling, it’s time for a quick brush-up on bujo terminologies to help you adopt the practice more easily. But don’t feel intimidated by these professional-sounding words. They are not too complicated to make sense of.
- Rapid Logging – It refers to the bullet journal’s “operating language” wherein you use abbreviated words and symbols to simplify daily recording.
A little background: When Ryder Carroll invented bullet journaling, all he wanted to do was to simplify his note-taking because he was having issues with focus and the usual longhand writing. So to make things easier, he developed rapid logging as a system for organizing his life.
And that’s how you’re going to do it with yours. You’ll need a couple of keys like asterisks, circles, and abbreviations to simplify your logging needs.
- Topics – In bujo lingo, a topic refers to the title of the journal spread. As a standard, your titles must be concise yet highly descriptive of the purpose of your entry.
- Bullets – By now, you probably know what these symbols stand for. In bullet journaling, these are a series of notations that signify an entry as either a task, an event, or an important reminder/note.
- Index – It refers to the bullet journal’s first page, which outlines the contents of your notebook and points to the location of specific journal spreads by page numbers. Think of it as a book’s table of content, only that it’s your bujo pages that are being identified and located.
- Tasks – These refer to any actionable journal entries, often those marked in a to-do list. They are normally given the dot key, but for Trello-like logging (or kanban), they can be updated into the following states:
X – means the task has been completed
> – means the task is migrated
< – means the task has been scheduled
- Logs – These are the items on your to-do list that have varying degrees of priorities and urgency. They are written in short form and can be categorized as dailies, weeklies, monthlies, and future logs.
- Events – These are entries attached to calendar dates to signify an actionable item that can be scheduled ahead of time or after it occurred.
For instance, you wrote “Amy’s birthday party” as a future event log. Meanwhile, an entry such as “contract signed” will refer to an event that has happened, which you want to emphasize for that specific date.
- Notes – These are entries that describe or give brief details to an item in your to-do lists or future logs. They serve as reminders or personal observations regarding an activity or event you’re recording.
- Key – It refers to an index of symbols or signifiers you intend to use for your bullet journal logging. It includes a reference to the meaning of each asterisk, square bullet, dot, or other similar shapes and symbols for easier recall and logging.
- Migration – It refers to the regular updating of bujo entries by carrying over unfinished items to succeeding days, weeks, or months. Similar to rescheduling, migration is one of the key organizational tools in a bullet journal.
- Collections – These refer to the rest of the journal pages dedicated to trackers, random lists, and mindfulness spreads other than the mainstays, such as future logs and to-dos. These pages offer flexibility and allow you to creatively design your bujo into a power hub for productivity and well-being commitments.

Steps on How to Start a Bullet Journal
While others recommend starting at the beginning of the year to make the most of what bullet journaling can offer, it’s still flexible enough to cover your needs late into the calendar month—even as soon as today!
Ready to dive in and start a bullet journal journey? These steps will help you set up your journal notebook in the standard fashion.
1. Prepare your supplies
These may include any undated notebook, a pen, a ruler for line tracing, and a set of highlighters. Although you’ll only ever need a paper to write on and a pen for note-taking, most journalers prefer prettifying their spreads to make them visually motivating to keep.
If you can splurge on a premium notebook, going for a Moleskine or a Leuchtturm 1917 is highly recommended. Otherwise, any notebook with bleed-free pages will do.
2. Make an index
Create one column on the left for the journal topics (titled spreads) and another column next to it for their page numbers.
3. Create your key
On the first page or the inside cover of your notebook, draw the symbols or signifiers you plan to use and write the meanings next to these legends.
4. Write your future logs
If you have a future event planned and the month hasn’t started yet, this is where you’ll write your notes about it.
5. Create your monthlies
Your monthly logs should consist of upcoming activities or events for a specific calendar month, as well as those carried over from the previous months.
6. Make your weekly and daily logs
These should consist of daily actionable entries or reminders for specific days in a week. They can also be migrated entries from the previous weeks or days.
7. Add collections or trackers
Depending on your goals and lifestyle needs, you can add collections such as budget and beverage trackers, among many possible spreads for your productivity and personal organization.
Everyone’s bullet journal will be a little different. Students may want to track study habits and books they’ve read, while busy moms may find organizational relief by tracking schedules, baby milestones, or track progress on sticking to a $100 meal plan for a week.
Conclusion
Thanks to a handful of online resources, you’ll never feel lost in the process of bullet journaling. In this article, you have learned what this practice is all about, as well as the terminologies and steps on how to start a bullet journal.
Do you have other tips to add to this guide? Let me know in the comments!
